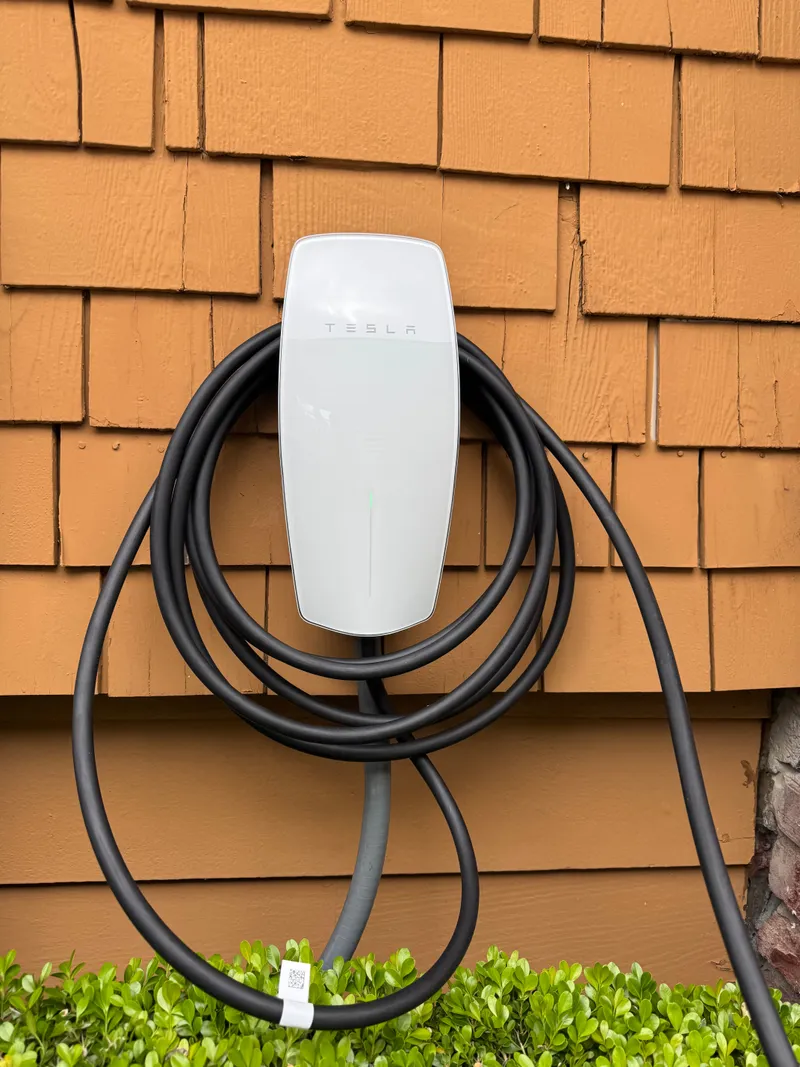
Home charging is the biggest reason people go electric
If you've bought an EV — or you're about to — the first thing you'll realize is that public charging is a backup plan. The real convenience of an electric vehicle is waking up every morning with a full battery. That means installing a charger at home.
Plugging into a standard wall outlet won't cut it for most people. A regular 120V outlet (Level 1) adds about 3-5 miles of range per hour. If you drive 40 miles a day, you're looking at 8-12 hours of charging. That works if you're retired and barely drive. For everyone else in Oakland, Berkeley, and the East Bay who actually commutes — you need Level 2.
Level 1 vs. Level 2: what's the difference?
The charger that came with your EV is a Level 1 — a standard 120V plug. It works, but it's slow. Level 2 charging uses a 240V circuit (the same voltage as your dryer or electric range) and delivers 25-30 miles of range per hour. Most EVs go from empty to full overnight on Level 2.
Charging speed comparison
- Level 1 (120V, 12A) 3–5 miles/hour. No installation needed, just slow. Works for low-mileage drivers or as emergency backup.
- Level 2 (240V, 40–50A) 25–30 miles/hour. Requires a dedicated circuit and proper wiring. The sweet spot for residential.
- DC Fast Charging (480V+) Commercial only. Not for homes. This is what Superchargers and public fast-chargers use.
Level 2 is the sweet spot for residential. You plug in when you get home, and it's done before you go to bed.
What the installation actually involves
Installing a Level 2 EV charger isn't just mounting a box on the wall. It's a real electrical project with permit, panel work, and a dedicated circuit.
EV charger install
1 day typical. 2 days if the run is long or conduit is complex.
- 01 Panel assessment Walkthrough
We check that your panel has capacity for a 40A or 50A dedicated breaker. Full panel = upgrade first.
- 02 Permit City-dependent
Each city runs its own queue. We file it right after the walkthrough and track it to issuance.
- 03 Circuit run Half to full day
6-gauge or 8-gauge wire (amperage dependent), conduit if exposed, proper grounding. Wire distance drives the cost.
- 04 Charger mount + test Same day as circuit run
Wall-mounted or pedestal. NEMA 14-50 outlet or hardwired. Tested before inspection.
- 05 City inspection Scheduled after install
Inspector signs off on the final. Charger is usable after the inspector's OK.
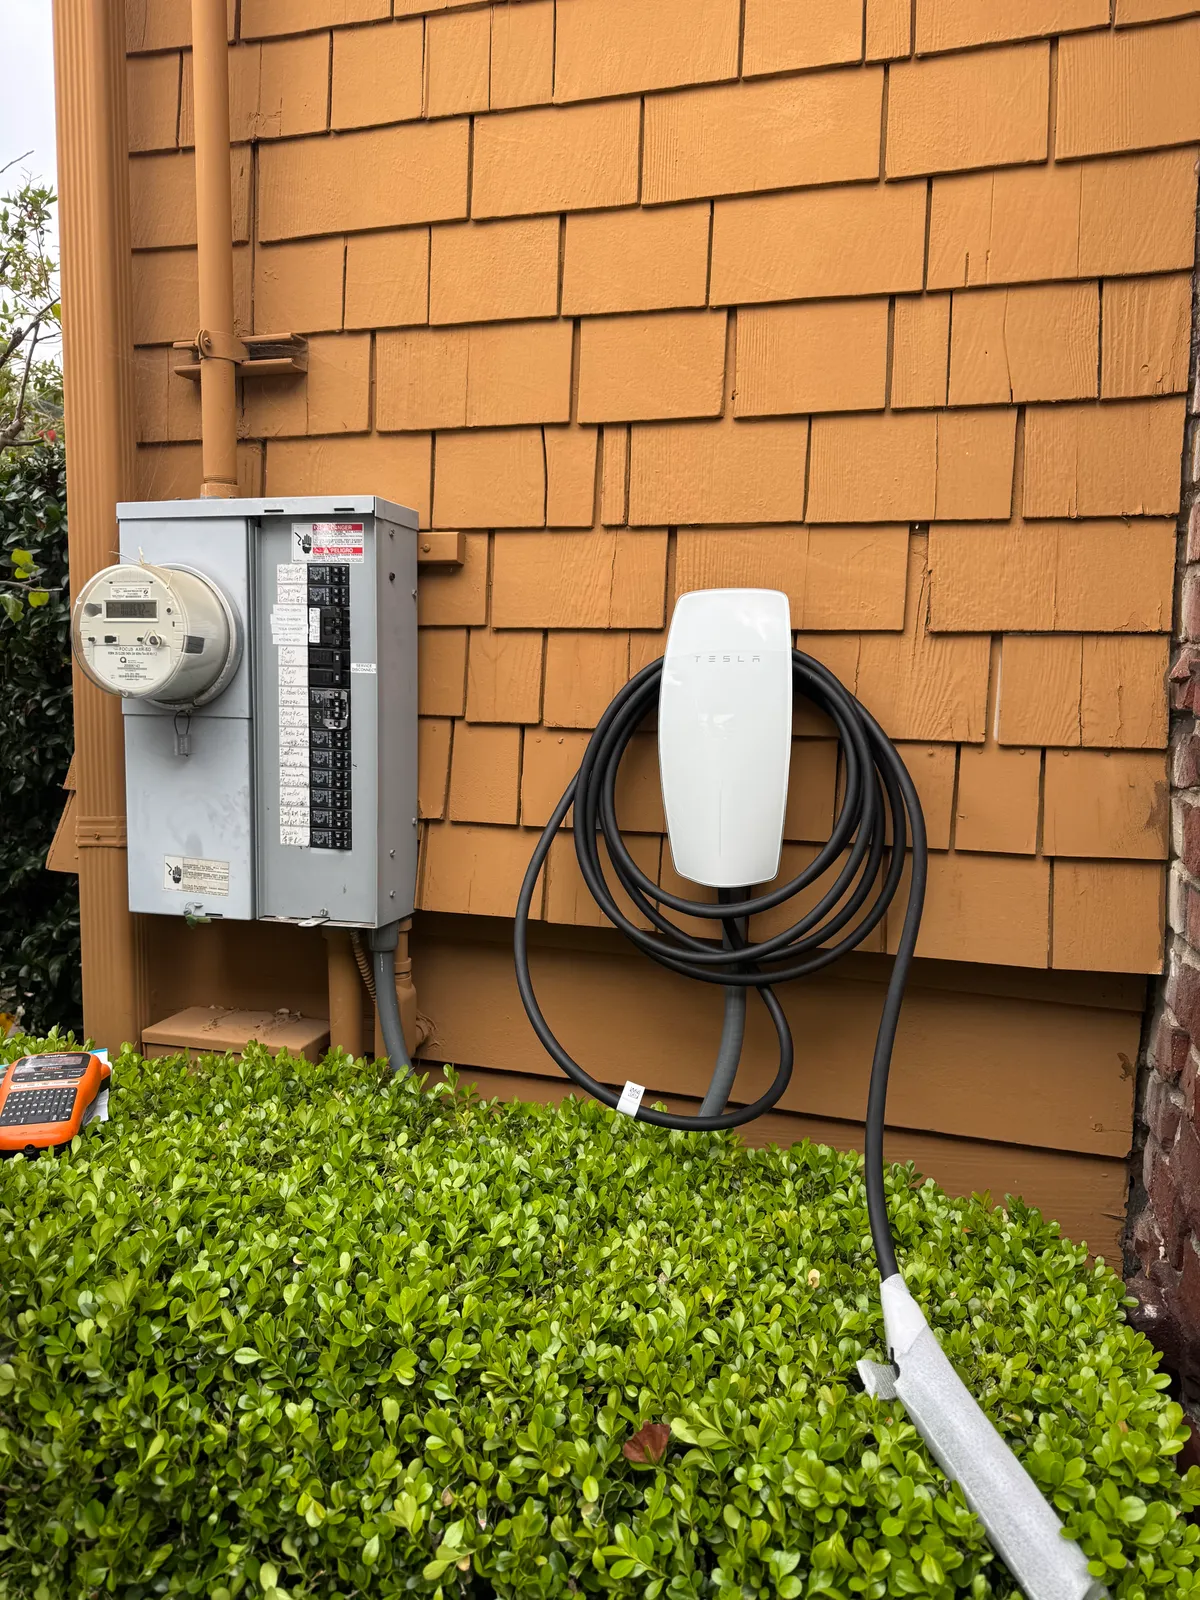
Does your panel have enough room?
This is the question that catches most homeowners off guard. A 50A EV charger circuit is one of the biggest loads in a residential home — right up there with an electric range or central AC. If your panel is already full or close to it, you can't just squeeze in another breaker.
Panel readiness at a glance
- 200A panel with open slots Usually good to go. Straightforward install.
- 200A panel, mostly full May need load balancing or tandem breakers. We do the load calc at the walkthrough.
- 100A panel Almost always needs an upgrade to 200A before adding an EV charger.
- Fuse box Upgrade required. Period.
Not sure what you have? Use our free panel load calculator to estimate your home's current demand and see if an EV charger fits.
NEMA 14-50 outlet vs. hardwired
There are two ways to connect a Level 2 charger. Both work; the right choice depends on flexibility vs charging speed.
- NEMA 14-50 outlet (recommended for most) A 240V, 50A outlet (same as RV hookups). Your charger plugs into it. Unpluggable, swappable, great for future charger upgrades. Most Tesla owners go this route.
- Hardwired Permanently wired to the circuit. No outlet. Some chargers (ChargePoint Home Flex) can hardwire at 50A for slightly faster charging. Required by some local codes for certain amperages.
Real pricing for EV charger installs
The charger itself runs $300–$700 depending on brand and features (Tesla Wall Connector, ChargePoint Home Flex, Grizzl-E, JuiceBox are all solid options). The installation cost depends primarily on distance from the panel to the charger location.
Level 2 EV charger install (60A fast charger)
Install labor only. Charger unit priced separately ($300–$700 depending on model).
- 0–10 ft from panel$1,500–$2,000
- 10–30 ft$2,000–$2,500
- Beyond 30 ft Run complexity drives the numberOnsite inspection
- 40A charger (any tier) Slightly smaller wire and breaker~15% less
If your garage is on the far side of the house, we sometimes recommend a subpanel over a long dedicated run. That's a walkthrough conversation.
What about rebates?
The federal government offers a tax credit of up to 30% of the cost of purchasing and installing a home EV charger (up to $1,000) through the Alternative Fuel Vehicle Refueling Property Credit. Some utility companies, including PG&E, have offered additional rebates — check their current programs when you're ready to install.
California also has various incentive programs through the Clean Vehicle Rebate Project and local air districts. These change frequently, but they can knock several hundred dollars off your total cost.
Why hire an electrician instead of DIY?
We get it — if you're handy, running a 240V circuit seems doable. But here's why you should think twice:
- Permits require licensed work Oakland and most East Bay cities won't sign off on an inspection unless a licensed electrician pulled the permit.
- Panel work is dangerous The bus bars in your panel carry 200A at 240V. That's enough to kill you. This isn't a YouTube project.
- Insurance and warranty If a DIY install causes a fire, your homeowner's insurance may deny the claim. Charger warranties often require professional installation.
- It needs to be right Undersized wire, improper grounding, or a wrong breaker size creates a fire hazard that could sit in your wall for years before failing.
A licensed electrician gets it permitted, inspected, and safe — and it takes less than a day for most installs.
Ready to charge at home?
We'll check your panel capacity, map the run to your garage or driveway, and give you a straight quote with no surprises. Free walkthrough.
Related reading
- Residential Electrical Services in Oakland: The 2026 Homeowner Guide — the full cost and timeline breakdown across every residential service.
- When to Upgrade Your Electrical Panel: 5 Warning Signs — if your panel can't support an EV charger, this guide explains what to look for.
- Do I Need a Permit for Electrical Work in Oakland? — EV charger installs always need a permit. Here's the process.